Introduction
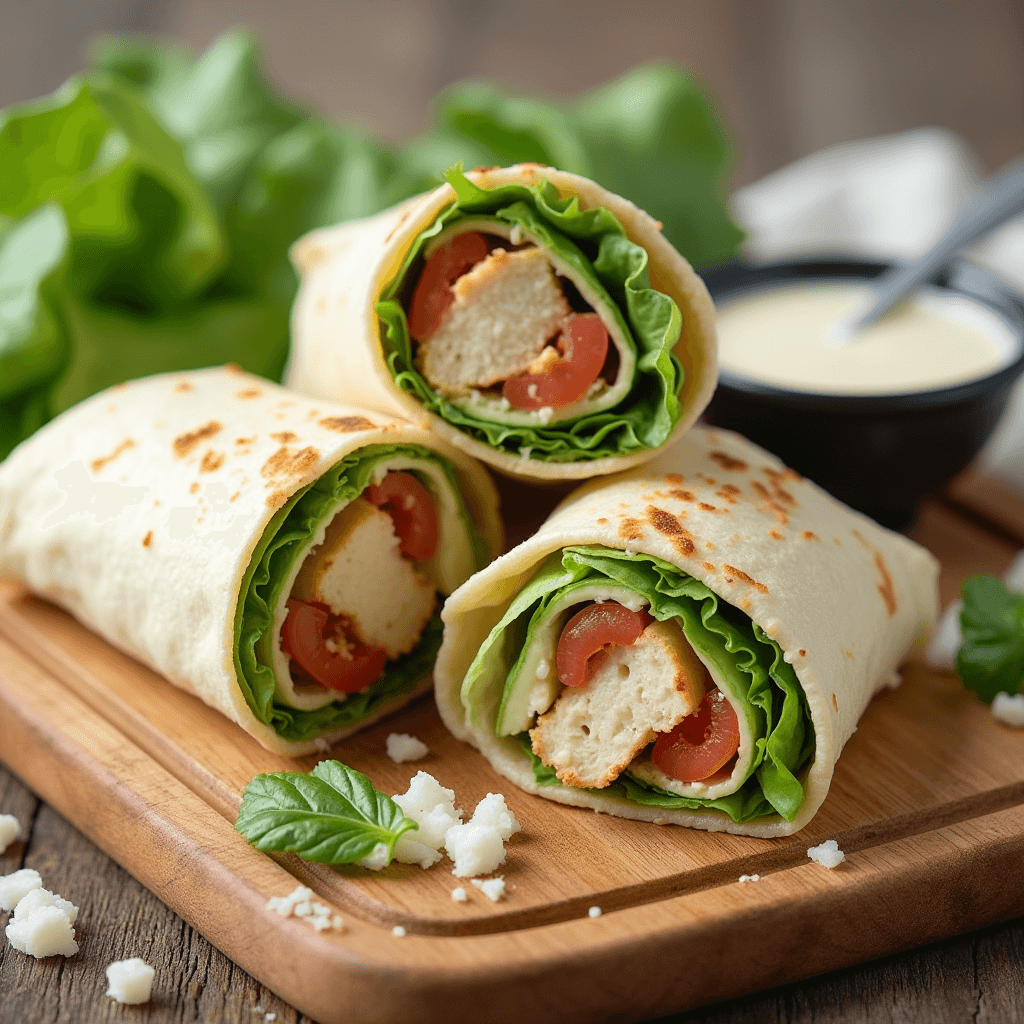
If you’re looking for a quick, healthy, and irresistibly tasty meal, the Chicken Caesar Wrap might just become your new go-to. This wrap combines the creamy, tangy goodness of Caesar salad with tender chicken and wraps it all in a soft, warm tortilla—making it ideal for busy days when you want a nutritious meal without the hassle of complicated cooking. With its balance of protein, fresh greens, and savory dressing, this wrap is satisfying, simple, and endlessly customizable.

Why has the Chicken Caesar Wrap become such a favorite across the USA? This wrap hits all the marks: it’s packed with flavor, takes less than 20 minutes to make, and can easily be prepped ahead for lunches throughout the week. Plus, it’s versatile enough for anyone—from busy parents to health-conscious professionals or beginner cooks looking for an easy recipe.
Today, let’s dive into everything you need to know to make this classic Chicken Caesar Wrap from scratch, along with tips for customizing it to fit your taste and dietary needs. So, grab your ingredients, and let’s make the ultimate Chicken Caesar Wrap!
Print
Chicken Caesar Wrap
- Total Time: 20 minutes
- Yield: 4 wraps
Description
A classic wrap combining Caesar salad flavors with tender chicken, making it the perfect option for a quick, filling meal.
Ingredients
2 cups cooked chicken breast, chopped or shredded
4 large flour tortillas (10 inches)
2 cups romaine lettuce, chopped
½ cup Caesar dressing (regular or light, as preferred)
¼ cup grated Parmesan cheese
¼ cup croutons, crushed (optional, for extra crunch)
Salt and pepper to taste
1 tablespoon olive oil (optional, for grilling wraps)
Instructions
- Prepare the Chicken: If using raw chicken, season it with salt and pepper and cook in a skillet over medium heat with a drizzle of olive oil until fully cooked, about 5–7 minutes per side. Chop or shred the cooked chicken.

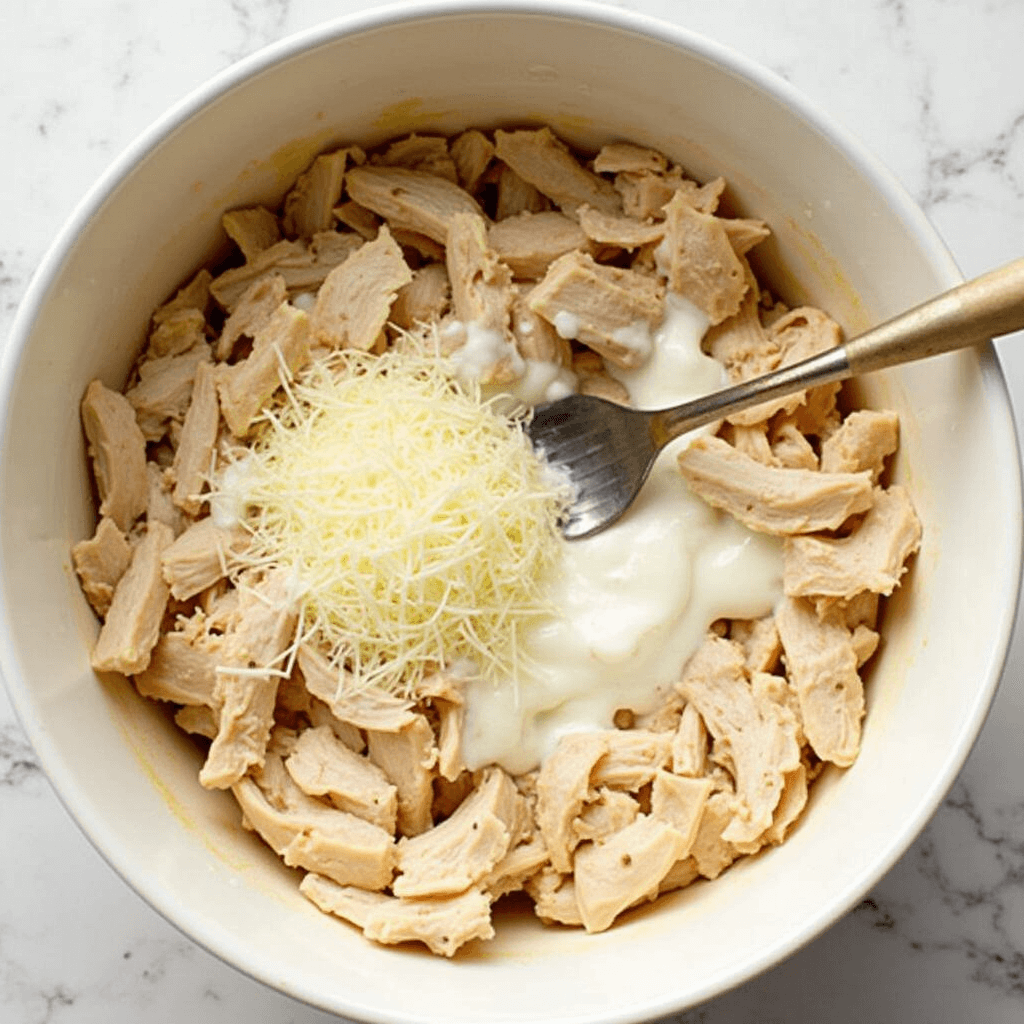
- Mix Ingredients: In a large bowl, combine the chopped chicken, Caesar dressing, and Parmesan cheese. Toss until the chicken is well coated with dressing.

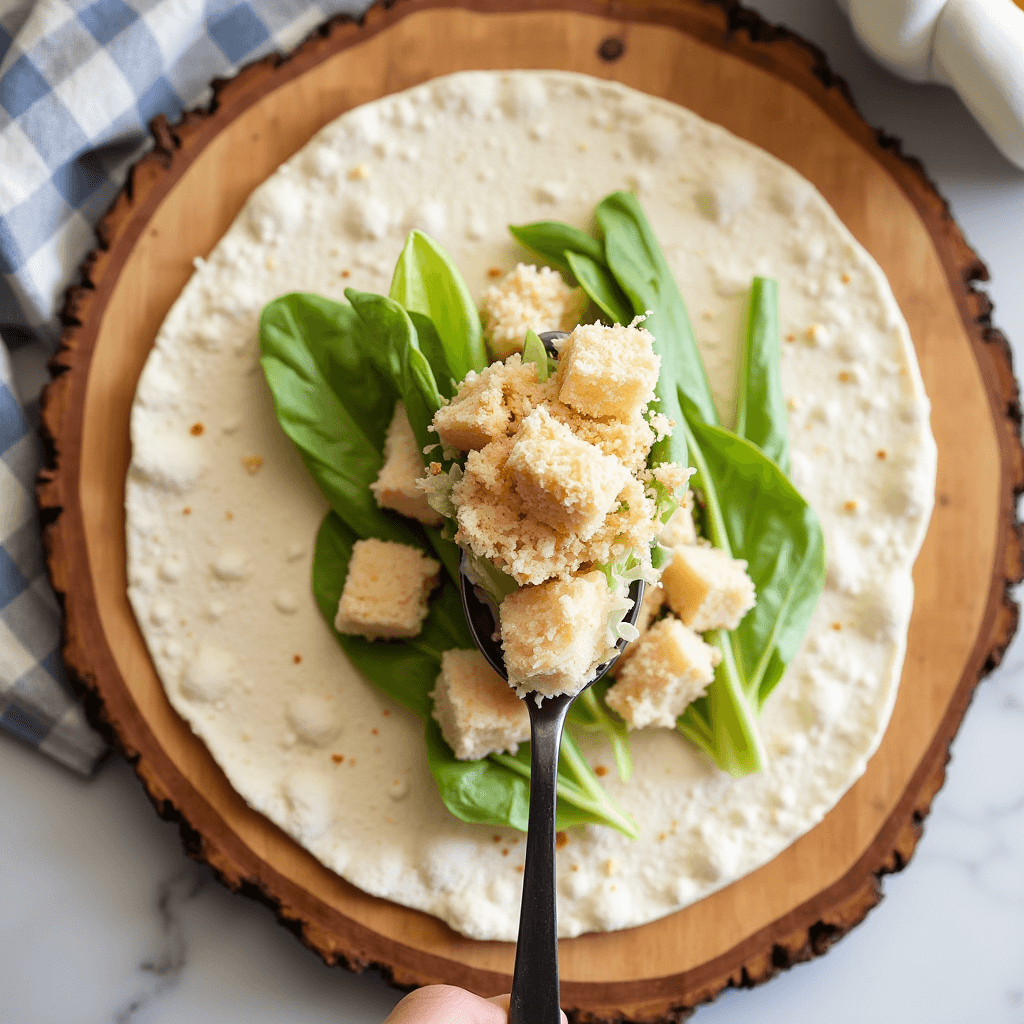
- Assemble the Wraps: Lay each tortilla flat. Spoon about ½ cup of the Caesar chicken mixture into the center, then add a handful of chopped romaine lettuce and a sprinkle of crushed croutons for extra texture.
Ensuring the filling is secure requires folding the tortilla’s sides inside and then securely rolling it from the bottom up.
- Optional – Grill the Wraps: For added flavor and a crispier texture, lightly brush each wrap with olive oil and grill on a hot pan or skillet for 2–3 minutes per side.
- Serve: Slice each wrap in half and serve immediately, or wrap in foil for a portable meal.
Notes
For a lighter option, use whole-wheat tortillas and a light Caesar dressing.
To make it gluten-free, substitute gluten-free tortillas and double-check your dressing ingredients.
- Prep Time: 10 minutes
- Cook Time: 10 minutes
- Category: Lunch
- Method: No-cook (for pre-cooked chicken) / Grilled
- Cuisine: American
Nutrition
- Serving Size: 1
- Calories: 450 kcal
- Sugar: 2g
- Fat: 18g
- Carbohydrates: 34g
- Fiber: 3g
- Protein: 30g
Why You’ll Love This Chicken Caesar Wrap Recipe
This Chicken Caesar Wrap isn’t just a tasty choice; it’s packed with features that make it the perfect meal option for various occasions. Here’s why you’ll love it:
Quick & Easy: You’ll need only about 20 minutes from start to finish. Ideal for busy days!
Portable: Wraps are easy to take on the go, making them great for lunches, picnics, or even road trips.
Balanced Nutrition: With lean protein, greens, and healthy fats, this wrap is a well-rounded meal.
Customizable: Whether you’re looking to cut carbs, boost veggies, or try different flavors, this wrap adapts effortlessly.
Crowd-Pleaser: Simple ingredients make it appealing for kids and adults alike.
Key Ingredients and Substitutions
Each ingredient in the Chicken Caesar Wrap plays a unique role in creating a balanced, flavorful dish. Here’s a closer look at each component, plus some substitution ideas:
Chicken: Boneless, skinless chicken breast is ideal for this recipe, but feel free to substitute with rotisserie chicken, grilled chicken thighs, or even grilled shrimp for a different flavor.
Caesar Dressing: Classic Caesar dressing brings the tangy, creamy flavors that make this wrap irresistible. For a lighter option, use Greek yogurt-based Caesar dressing or make your own using plain Greek yogurt, lemon juice, Dijon mustard, and garlic.
Romaine Lettuce: Known for its crisp texture, romaine is the best choice here, but kale, spinach, or arugula can be used as substitutes.
Parmesan Cheese: Parmesan adds richness and depth to the flavor profile. If you don’t have Parmesan on hand, Pecorino Romano or aged cheddar work well.
Croutons: These add a satisfying crunch to the wrap. For gluten-free or low-carb alternatives, consider toasted nuts or seeds.
How to Make Chicken Caesar Wrap (Step-by-Step)
Step 1: Prepare the Chicken
Use a little salt and pepper to season the chicken breast. If using raw chicken, heat a skillet over medium heat with a drizzle of olive oil. Cook the chicken until golden on the outside and no longer pink inside, approximately 5–7 minutes per side. Let it cool slightly, then chop or shred.
Step 2: Mix Caesar Chicken Filling
Toss the chopped chicken with Caesar dressing and grated Parmesan cheese in a large mixing bowl. Stir until every piece of chicken is evenly coated with dressing, giving it the familiar Caesar salad taste.
Step 3: Prepare the Tortillas
Lay each tortilla on a clean surface. Make sure they’re large enough (10-inch tortillas work best) to wrap around the filling completely.
Step 4: Add the Filling
Spoon about ½ cup of the Caesar chicken mixture onto each tortilla. Add a handful of romaine lettuce on top, and sprinkle a few crushed croutons if you like an added crunch.
Step 5: Wrap It Up
Fold the sides of each tortilla inward, then roll it up tightly from bottom to top to secure all the ingredients inside. A tight roll will prevent the filling from spilling out, making it easier to eat on the go.
Step 6: Optional Grilling
If you’d like a warm, crispy wrap, lightly brush each one with olive oil and grill on a hot pan for about 2-3 minutes on each side. This step is optional but enhances the texture and flavor of the tortilla.
Expert Tips for Success
Use Fresh Ingredients: Fresh romaine lettuce and quality Caesar dressing make a difference. Look for crisp lettuce and a tangy dressing for maximum flavor.
Keep Wraps Moist: To avoid soggy wraps, only add the lettuce just before serving or packing to keep it fresh.
Adjust Dressing to Taste: Some prefer a light coating, while others enjoy a richer Caesar flavor. Start with ½ cup of dressing, adding more if desired.
Pre-Cook Chicken for Meal Prep: Cook a batch of chicken at the beginning of the week to save time. This recipe is perfect for using leftover grilled or roasted chicken as well.
Variations and Customizations
Make this Chicken Caesar Wrap your own with these fun variations:
Low-Carb Version: Swap the tortilla for a large lettuce leaf to create a Caesar-style lettuce wrap.
Spicy Chicken Caesar Wrap: Add a dash of hot sauce or sriracha to the Caesar dressing for a spicy twist.
Vegan Option: Substitute the chicken with roasted chickpeas or grilled tofu, use dairy-free Caesar dressing, and opt for vegan Parmesan.
Herb-Infused: Add chopped fresh herbs like parsley, basil, or dill for extra flavor.
Extra Protein: If you’re looking to boost protein, add a hard-boiled egg or some sliced avocado.
Storage and Reheating Instructions
Refrigerator: Wraps can be stored in an airtight container in the refrigerator for up to 3 days. For best results, store the lettuce separately and add it just before eating.
Reheating: If you’d like a warm wrap, reheat it in a skillet for 3-4 minutes per side. Microwave reheating is possible but may soften the tortilla.
Serving Suggestions
Enjoy your Chicken Caesar Wrap with any of these complementary sides:
Baked Sweet Potato Fries: Adds a touch of sweetness to balance the savory wrap.
Roasted Vegetables: A nutritious side that pairs well with Caesar flavors.
Fruit Salad: Fresh and light, a fruit salad brings a refreshing contrast to the wrap’s creamy texture.
Frequently Asked Questions (FAQs)
1. Why is it called a Chicken Caesar Wrap?
The wrap is inspired by the Caesar salad, known for its creamy dressing, Parmesan, and crisp romaine lettuce. This wrap takes those beloved flavors and turns them into a convenient meal.
2. What type of Caesar dressing is best?
Choose a high-quality, creamy Caesar dressing for the best flavor. For a healthier choice, try Greek yogurt-based or homemade Caesar dressing.
3. Is it possible for me to wrap in advance?
Yes! Store the filling separately and assemble just before eating to keep the wrap fresh and avoid sogginess.
4. How can I make this wrap gluten-free?
Simply use gluten-free tortillas and double-check your Caesar dressing for any gluten-containing ingredients.
5. Can I freeze Chicken Caesar Wraps?
Freezing isn’t recommended, as the lettuce and dressing may not thaw well. However, you can freeze the chicken filling and assemble fresh wraps later.
Related Chicken Caesar Wrap Recipes
If you’re a fan of this Chicken Caesar Wrap, check out these other delicious wrap recipes on our site:
- Buffalo Chicken Wrap
- Turkey Avocado Wrap
- Mediterranean Veggie Wrap
- BBQ Chicken Wrap
Conclusion
The Chicken Caesar Wrap offers a fresh, flavorful, and easy-to-make meal that anyone can enjoy. Whether you’re planning for a quick lunch, a family picnic, or meal prep for the week, this wrap fits seamlessly into any routine. Give it a try, and don’t forget to let us know how it turned out—leave a comment, rate the recipe, or share your creation with us on social media!
Made with Love Chef Ethan
‘ Cooking Up a Storm at Recipe Castle’


