Introduction
Who doesn’t love a scoop of creamy, velvety Vanilla Ice Cream recipe? Whether it’s a hot summer day or a cozy winter evening, ice cream is a treat that never goes out of style. But have you ever thought about making your ice cream at home? With the Cuisinart Ice Cream Maker, you can create a batch of delicious homemade vanilla ice cream with minimal effort. This article will guide you through an easy and foolproof recipe perfect for beginners and seasoned home cooks. Plus, you’ll get tips, creative variations, and answers to frequently asked questions to ensure your ice cream (Vanilla Ice Cream recipe) is always perfect.
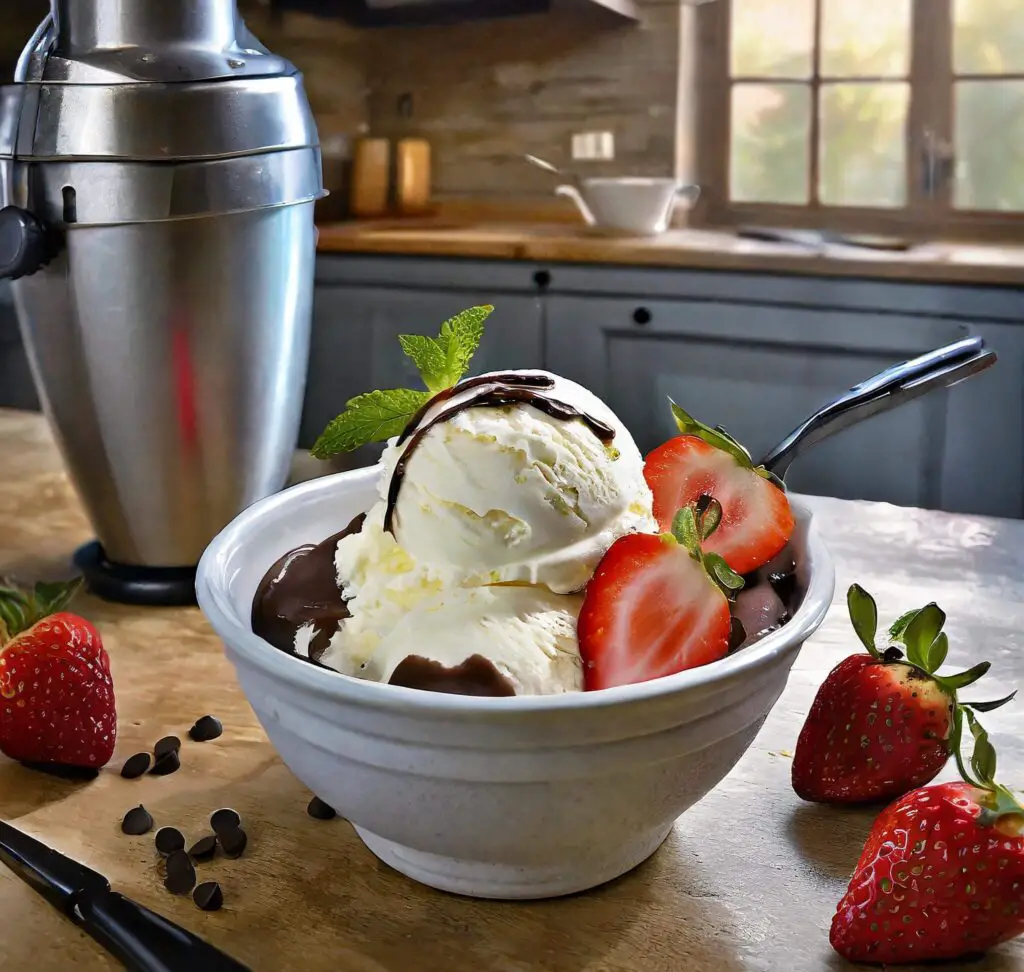
Vanilla Ice Cream Recipe Overview
This Homemade Vanilla Ice Cream recipe is designed to be simple yet incredibly satisfying. You can whip up a batch of smooth, creamy ice cream in just a few hours using essential ingredients like heavy cream, whole milk, sugar, and vanilla extract. The recipe yields about 1 quart (4 cups) of ice cream, making it ideal for a small gathering or a week’s worth of treats. With the help of the Cuisinart Ice Cream Maker, the process becomes almost effortless, allowing you to focus on flavor experimentation and enjoying your creation.
Print
Vanilla Ice Cream Recipe
- Total Time: 6 hours 35 minutes (including chilling and freezing
- Yield: 4 1x
Description
Quick and easy homemade Vanilla Ice Cream recipe using a Cuisinart Ice Cream Maker. Creamy, delicious, and perfect for customizing with your favorite mix-ins!
Ingredients
- 2 cups heavy cream
- 1 cup whole milk
- 3/4 cup granulated sugar
- 2 teaspoons pure vanilla extract
- Pinch of salt
Instructions
1-Make the Ice Cream Base: Start by combining the heavy cream, whole milk, sugar, vanilla extract, and a pinch of salt in a medium-sized mixing bowl. Use a whisk to stir the mixture until the sugar has fully dissolved. This step is crucial for ensuring that your ice cream has a smooth, creamy texture. High-quality ingredients, such as pure vanilla extract and fresh dairy, make a significant difference in the final product, so choose the best you can find.
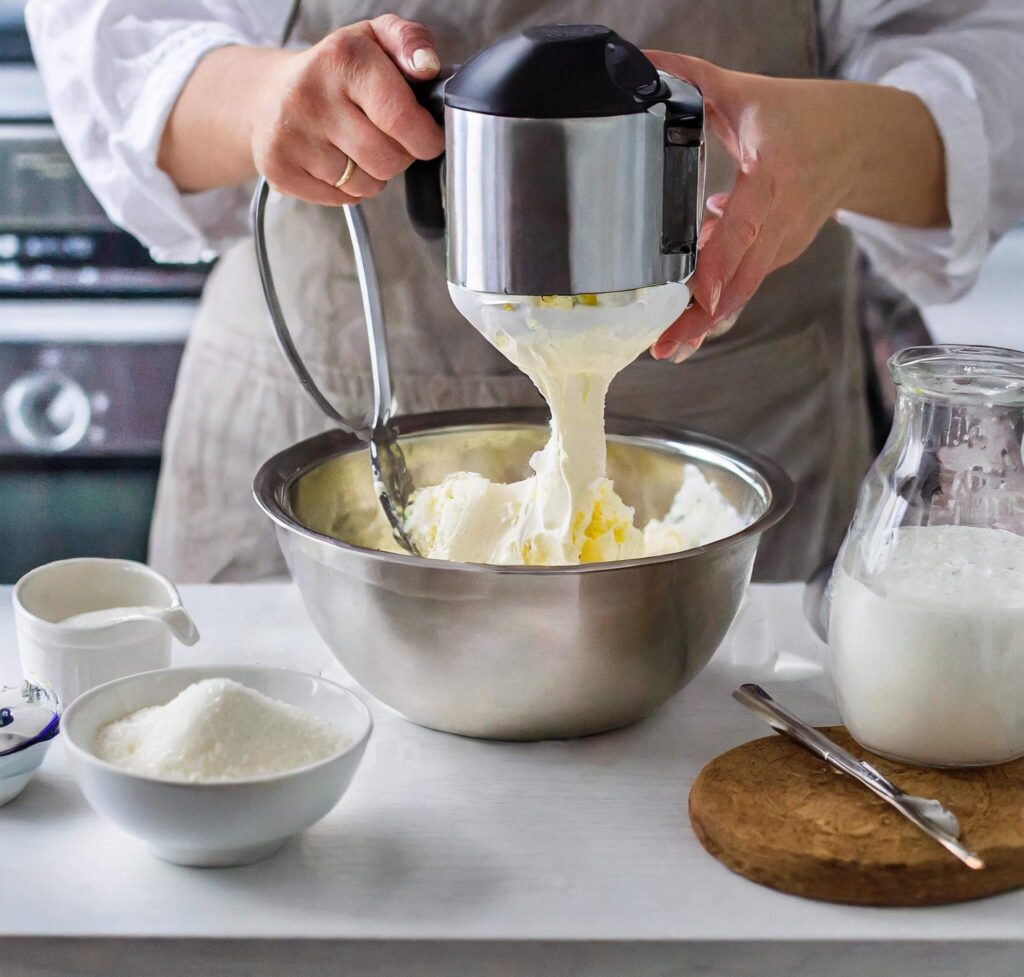 2-Chill the Mixture: Cover the bowl with plastic wrap and place it in the refrigerator for at least two hours, preferably overnight. This chilling process is vital for the mixture to achieve the correct temperature, which will allow it to churn properly in the ice cream maker.
3-Set Up the Cuisinart Ice Cream Maker: Before you start churning, ensure that the freezer bowl of your Cuisinart Ice Cream Maker is thoroughly frozen. This step is key to achieving the right consistency. Insert the mixing paddle into the bowl, secure the lid, and get ready to make some ice cream.
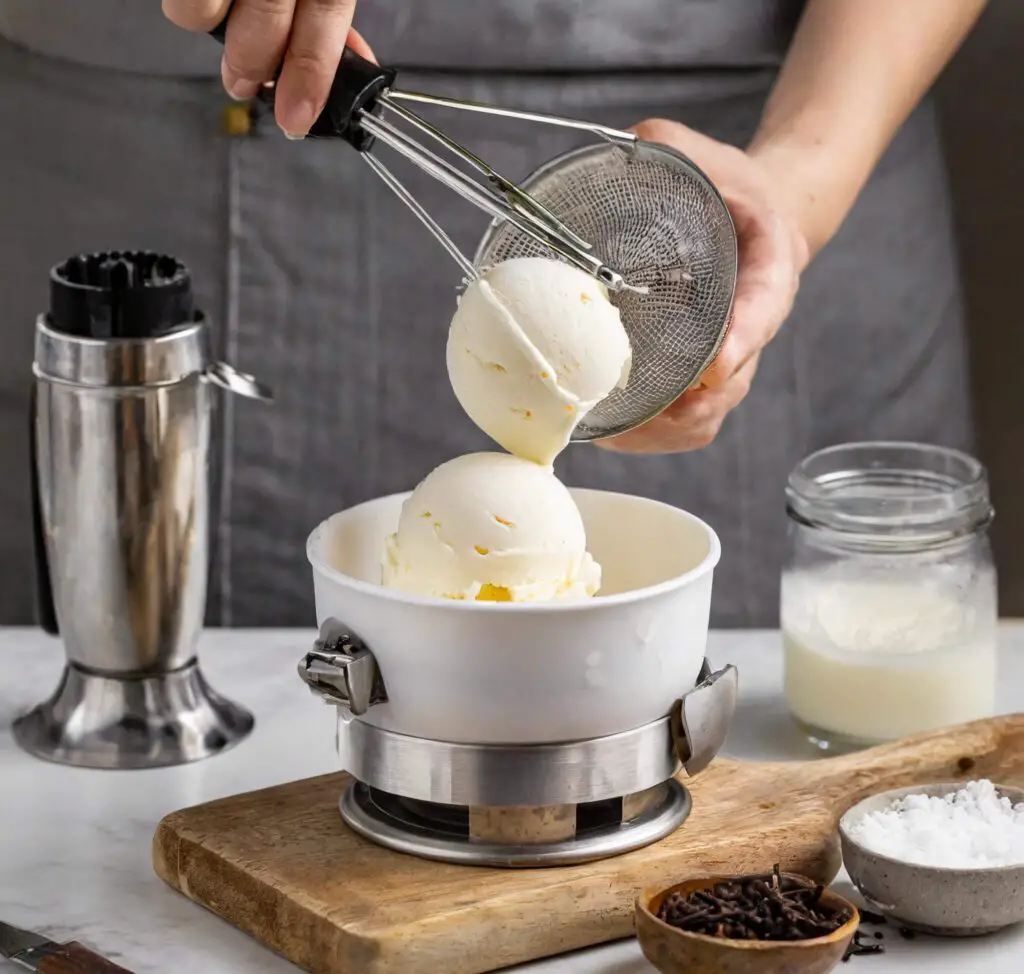 4-Churn the Ice Cream: Turn on the ice cream maker and pour the chilled mixture into the frozen freezer bowl. Allow it to churn for 15-20 minutes until the mixture thickens to a soft-serve consistency. The churning process incorporates air into the ice cream, which contributes to its creamy texture.
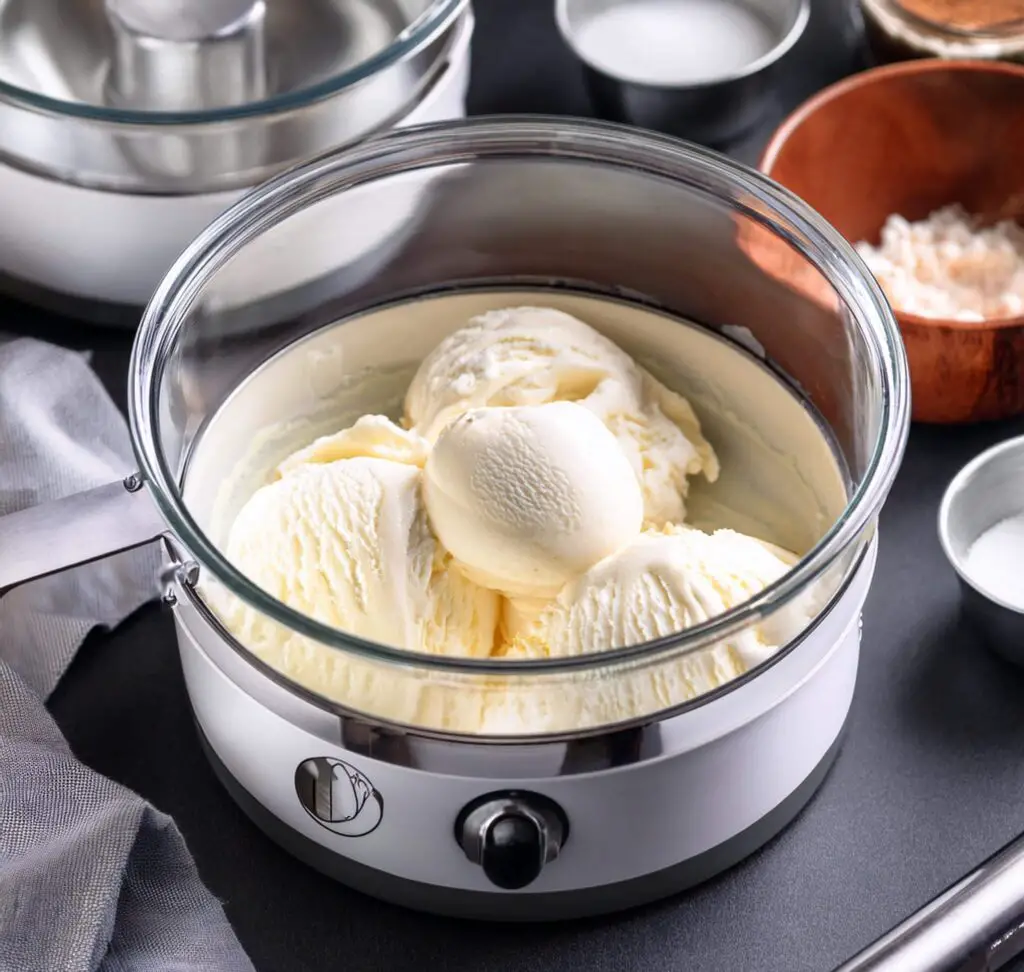 5-Freeze for a Firmer Texture: If you prefer your ice cream to be firmer, transfer the churned ice cream to an airtight container and place it in the freezer for an additional 2-4 hours. This step allows the ice cream to harden and develop a more traditional, scoopable consistency.
6-Serve and Enjoy: Once your ice cream has reached the desired consistency, it’s time to enjoy it! Scoop it into bowls or cones, and if you’re feeling adventurous, add your favorite toppings like chocolate sauce, sprinkles, or fresh fruit.
Notes
For the best results, use high-quality ingredients like pure vanilla extract and fresh dairy. The quality of your ingredients directly impacts the flavor and texture of the ice cream. Also, remember that homemade ice cream tends to be firmer than store-bought, so let it sit at room temperature for a few minutes before serving to make scooping easier. Feel free to get creative with mix-ins and flavor variations to customize your ice cream to your taste!
- Prep Time: 15 minutes
- Chilling Time: 2 hours (or overnight): Churning Time: 20-25 minutes
- Cook Time: Freezing Time: 4 hours
- Category: Dessert
- Method: No-Cook (Requires Chilling and Churning)
- Cuisine: American
Nutrition
- Serving Size: 1
- Calories: 210
- Sugar: 17g
- Sodium: 30mg
- Fat: 15g
- Saturated Fat: 9g
- Carbohydrates: 18g
- Protein: 3g
- Cholesterol: 50mg
Creative Variations of Vanilla Ice Cream recipe
One of the best things about making homemade ice cream is the freedom to experiment with different flavors and mix-ins. Here are some creative variations to try:
1-Chocolate Swirl Vanilla Ice Cream recipe
: After churning, gently fold in melted chocolate to create a luscious swirl. The contrast between the rich chocolate and creamy vanilla is irresistible.
2-Strawberry vanilla flavor: Add 1 cup of fresh, diced strawberries during the last 5 minutes of churning. The strawberries will slightly macerate, infusing the ice cream with a fruity flavor.
3-Cookies and Cream: Crush 1 cup of chocolate sandwich cookies (like Oreos) and mix them into the ice cream during the last few minutes of churning. The cookies add a delightful crunch and a chocolatey twist.
4-Nutty Caramel Delight: Swirl in caramel sauce and sprinkle toasted pecans or almonds for a rich, nutty flavor. This combination adds a delightful contrast in both texture and taste.
5-Mint Chocolate Chip: Add a few drops of peppermint extract and mix in mini chocolate chips during churning. This variation is perfect for those who love the refreshing taste of mint.
Tips for Perfecting the Recipe
Ensure the Freezer Bowl is Fully Frozen: The freezer bowl must be frozen solid to churn the ice cream properly. It’s recommended to freeze it for at least 12-24 hours before use. Shaking the bowl is a good test; if you hear any liquid sloshing around, it needs more time in the freezer.
Chill Your Ingredients: In addition to the freezer bowl, make sure your ice cream mixture is thoroughly chilled before churning. This helps the mixture freeze faster and results in a smoother texture.
Don’t Overfill the Ice Cream Maker: Avoid overfilling the freezer bowl, as the mixture expands during churning. Stick to the manufacturer’s recommended capacity to ensure optimal results.
Experiment with Mix-Ins: Once you’ve mastered the basic recipe, don’t be afraid to experiment with mix-ins like nuts, candy, or fruit. Add these extras during the last 5 minutes of churning to ensure they are evenly distributed without sinking to the bottom.
Store Properly: Homemade ice cream tends to harden more than store-bought varieties. Store it in an airtight container, and if it becomes too hard, let it sit at room temperature for a few minutes before scooping.
Frequently Asked Questions (FAQs)
Q: What is the shelf life of homemade ice cream in the freezer?
A: Homemade ice cream is best consumed within two weeks. After that, it may develop ice crystals and lose some of its creamy texture.
Q: Can I use non-dairy milk to make this recipe?
A: Yes! You can substitute whole milk and heavy cream with non-dairy alternatives like coconut or almond milk. However, the texture might be slightly different, and you may need to adjust the sugar depending on the sweetness of the milk.
Q: Why is my Creamy Vanilla Delight too hard after freezing?
A: Homemade ice cream tends to freeze harder than commercial ice cream because it lacks the stabilizers and softeners in store-bought varieties. Let the ice cream sit at room temperature for 5-10 minutes before serving to soften it.
Q: Can I double the recipe?
A: While you can double the ingredients, make sure your ice cream maker has enough capacity. Overfilling can prevent the mixture from churning correctly, leading to a less-than-ideal texture.
Q: How can I make my Rich Vanilla Dessert more scoopable?
A: Adding a tablespoon of alcohol (like vodka) to the mixture can lower the freezing point, resulting in a softer texture. Alternatively, you can add a bit of corn syrup or honey, which also helps keep the ice cream scoopable.
Conclusion About Vanilla Ice Cream recipe
Making homemade ice cream with a Cuisinart Ice Cream Maker is a rewarding experience that allows you to create a custom treat tailored to your taste. This vanilla ice cream recipe is a fantastic starting point, offering a rich and creamy base that you can enjoy as-is or jazz up with various mix-ins and flavors.
With the tips and variations provided, you can make this recipe your own and impress your family and friends with your ice cream-making skills. Whether it’s a sunny day treat or a sweet ending to a holiday meal, the homemade Vanilla Ice Cream recipe is a dessert that never disappoints. So, dust off your Cuisinart Ice Cream Maker and churn—deliciousness awaits! #Vanilla Ice Cream recipe
Made with Love Chef Ethan
‘ Cooking Up a Storm at Recipe Castle’

