Description
Quick and easy homemade Vanilla Ice Cream recipe using a Cuisinart Ice Cream Maker. Creamy, delicious, and perfect for customizing with your favorite mix-ins!
Ingredients
- 2 cups heavy cream
- 1 cup whole milk
- 3/4 cup granulated sugar
- 2 teaspoons pure vanilla extract
- Pinch of salt
Instructions
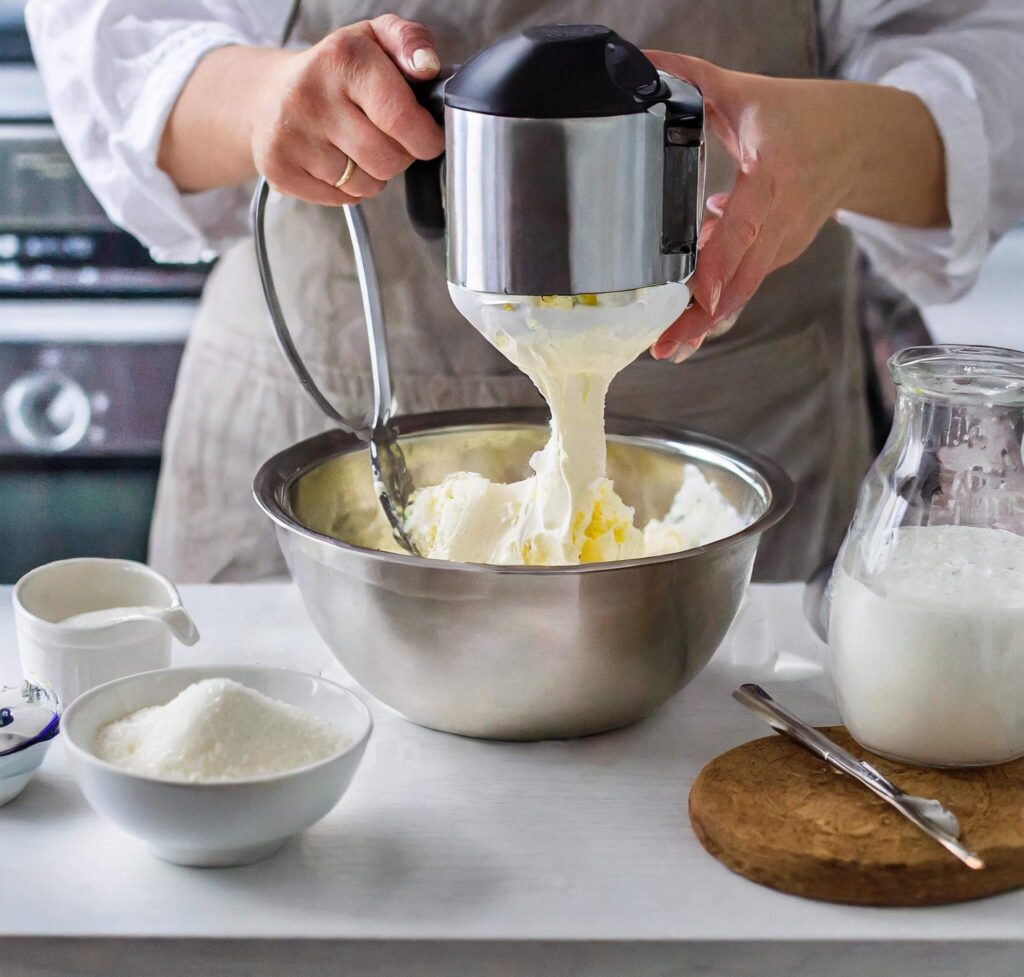
1-Make the Ice Cream Base: Start by combining the heavy cream, whole milk, sugar, vanilla extract, and a pinch of salt in a medium-sized mixing bowl. Use a whisk to stir the mixture until the sugar has fully dissolved. This step is crucial for ensuring that your ice cream has a smooth, creamy texture. High-quality ingredients, such as pure vanilla extract and fresh dairy, make a significant difference in the final product, so choose the best you can find.
 2-Chill the Mixture: Cover the bowl with plastic wrap and place it in the refrigerator for at least two hours, preferably overnight. This chilling process is vital for the mixture to achieve the correct temperature, which will allow it to churn properly in the ice cream maker.
3-Set Up the Cuisinart Ice Cream Maker: Before you start churning, ensure that the freezer bowl of your Cuisinart Ice Cream Maker is thoroughly frozen. This step is key to achieving the right consistency. Insert the mixing paddle into the bowl, secure the lid, and get ready to make some ice cream.
 4-Churn the Ice Cream: Turn on the ice cream maker and pour the chilled mixture into the frozen freezer bowl. Allow it to churn for 15-20 minutes until the mixture thickens to a soft-serve consistency. The churning process incorporates air into the ice cream, which contributes to its creamy texture.
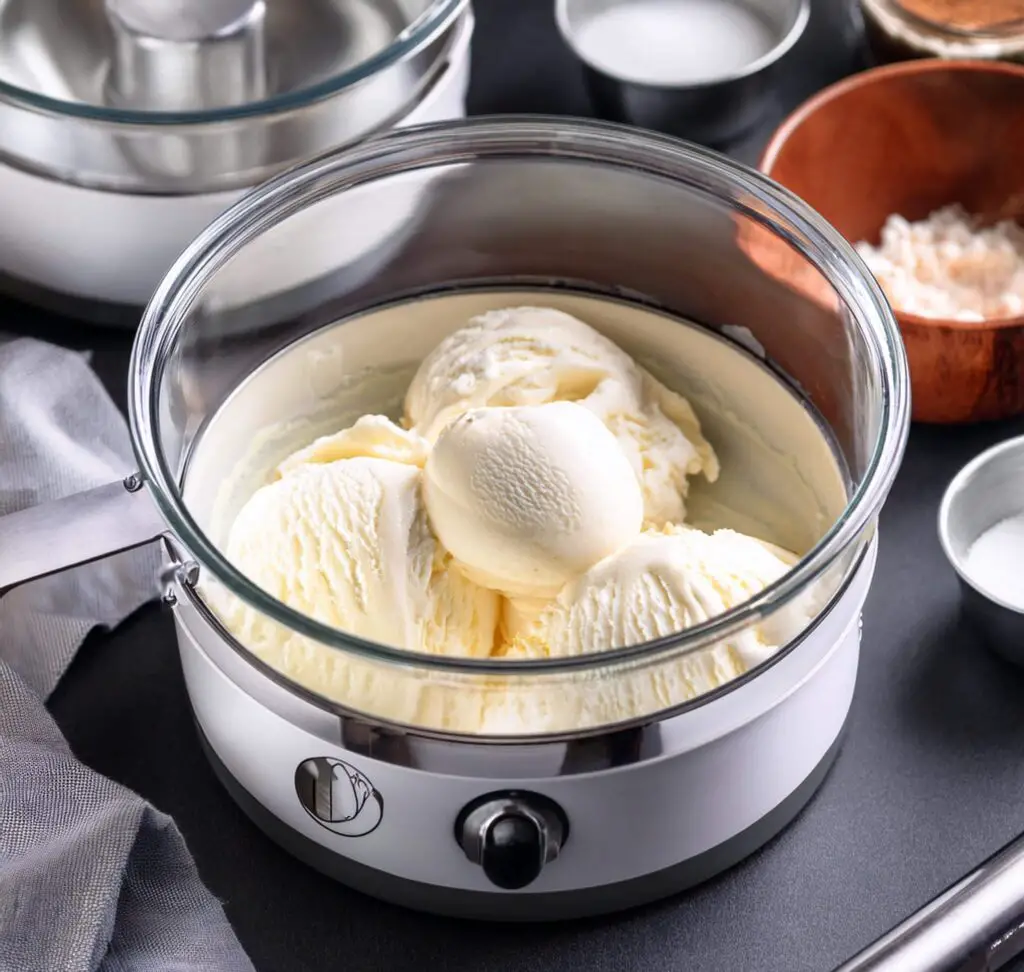
 5-Freeze for a Firmer Texture: If you prefer your ice cream to be firmer, transfer the churned ice cream to an airtight container and place it in the freezer for an additional 2-4 hours. This step allows the ice cream to harden and develop a more traditional, scoopable consistency.
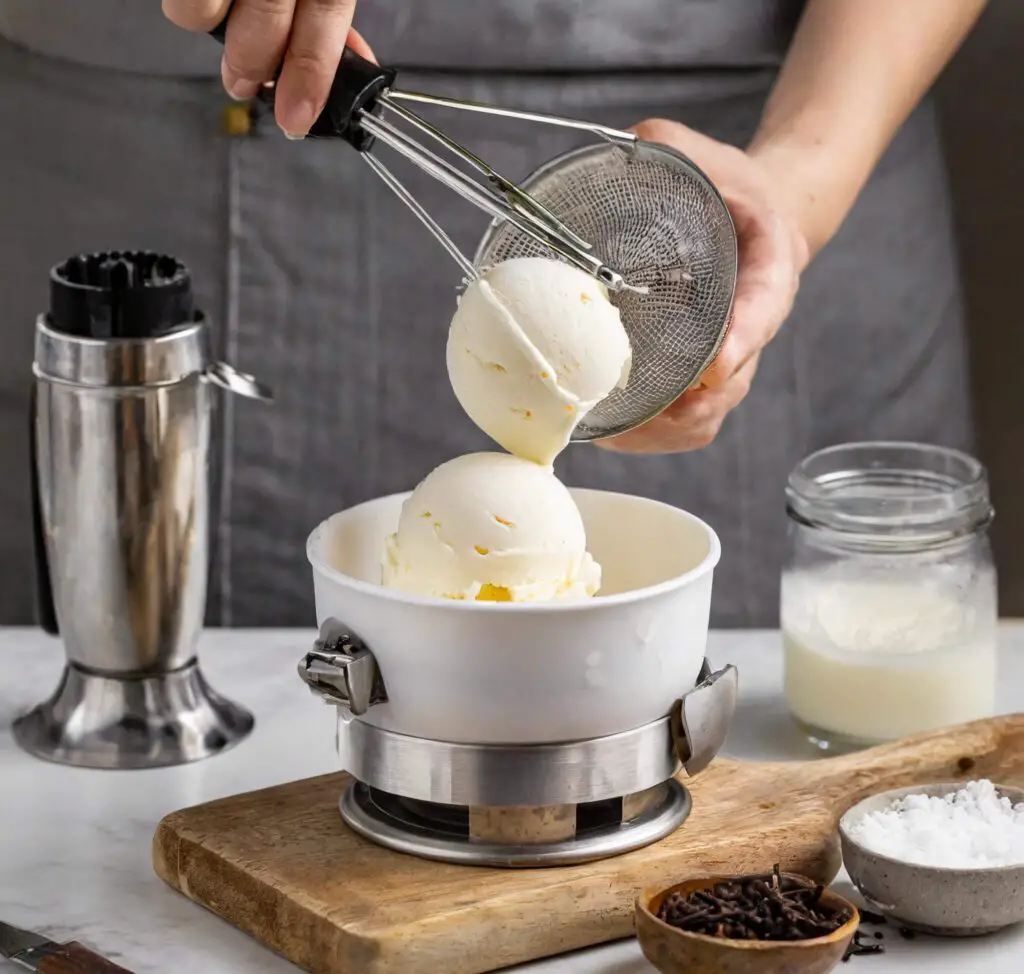
6-Serve and Enjoy: Once your ice cream has reached the desired consistency, it’s time to enjoy it! Scoop it into bowls or cones, and if you’re feeling adventurous, add your favorite toppings like chocolate sauce, sprinkles, or fresh fruit.
Notes
For the best results, use high-quality ingredients like pure vanilla extract and fresh dairy. The quality of your ingredients directly impacts the flavor and texture of the ice cream. Also, remember that homemade ice cream tends to be firmer than store-bought, so let it sit at room temperature for a few minutes before serving to make scooping easier. Feel free to get creative with mix-ins and flavor variations to customize your ice cream to your taste!
- Prep Time: 15 minutes
- Chilling Time: 2 hours (or overnight): Churning Time: 20-25 minutes
- Cook Time: Freezing Time: 4 hours
- Category: Dessert
- Method: No-Cook (Requires Chilling and Churning)
- Cuisine: American
Nutrition
- Serving Size: 1
- Calories: 210
- Sugar: 17g
- Sodium: 30mg
- Fat: 15g
- Saturated Fat: 9g
- Carbohydrates: 18g
- Protein: 3g
- Cholesterol: 50mg
